If you want to protect your privacy and browse the internet safely on your iPhone, setting up a VPN is a smart move. But maybe you’re wondering how to get started without any hassle.
Don’t worry—this guide will walk you through simple, step-by-step instructions to set up a VPN on your iPhone quickly and easily. Whether you prefer using an app or configuring it manually, you’ll soon enjoy secure, private online access with just a few taps.
Keep reading, and you’ll discover how effortless it is to take control of your online security right now.

Credit: www.youtube.com
Vpn Options On Iphone
iPhones offer several ways to use a VPN, helping protect your privacy and secure your connection. You can pick a method based on your needs and comfort level. Each option works differently but keeps your data safe while online. Understanding these VPN options on iPhone makes setup easier and more effective.
Third-party Vpn Apps
Third-party VPN apps are the simplest choice for most users. Download the app from the App Store. Popular apps include ExpressVPN, NordVPN, and ProtonVPN. After installation, open the app and log in with your account details. Tap the connect button to start the VPN service. The app adds a VPN profile to your iPhone automatically. You can turn the VPN on or off within the app or Settings menu. This method offers quick access and easy control.
Built-in Vpn Client
The iPhone has a built-in VPN client for manual setup. Use this if you have server details from your VPN provider. Open Settings and go to General, then VPN & Device Management. Tap VPN and select Add VPN Configuration. Enter your provider’s server, account, and authentication info. Save the configuration and toggle the VPN on from the same screen. This option suits users who want more control or use business VPNs.
Icloud Private Relay
iCloud Private Relay is a privacy feature that works like a VPN. It hides your IP address and encrypts your internet traffic. This service is part of iCloud+ and does not require a separate app. To enable it, open Settings, tap your Apple ID, then iCloud. Find Private Relay and turn it on. It helps keep your browsing private but does not replace full VPN services. Use it for added privacy with less setup.
Credit: blog.avast.com
Downloading A Vpn App
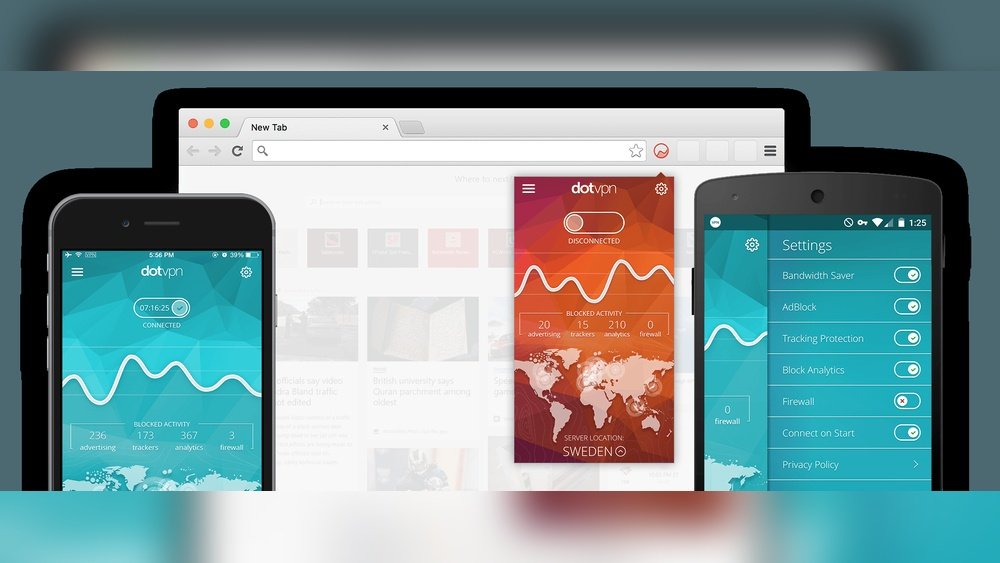
Downloading a VPN app on your iPhone is the first step to secure your online activity. A good VPN app makes it easy to connect and protect your data. The process involves finding the right app, installing it, and setting up your account. This guide will walk you through each step clearly and simply.
Finding The Right Vpn App
Choose a VPN app that fits your needs. Look for apps with good reviews and strong security features. Check if the app supports iPhone and offers easy-to-use controls. Popular options include ExpressVPN, NordVPN, and ProtonVPN. Avoid apps with few downloads or poor ratings to ensure reliability.
Installing From The App Store
Open the App Store on your iPhone. Use the search bar to type the VPN app name. Tap the correct app from the list. Hit the download or get button to install it. Wait for the app to finish installing before opening it. The app icon will appear on your home screen.
Creating And Logging Into An Account
Open the VPN app after installation. Most apps require you to create an account. Enter your email and choose a strong password. Some apps offer free trials or paid subscriptions. Log in with your new account details. This step allows the app to connect to VPN servers securely.
Connecting Through The Vpn App
Connecting through the VPN app on your iPhone is simple and fast. The app makes it easy to manage your VPN connection with just a few taps. You can choose where your connection goes, allow the app to set up the VPN on your device, and switch the VPN on or off whenever needed.
Selecting A Server Location
Open the VPN app on your iPhone. Most apps show a list or map of server locations. Pick a country or city where you want your connection to appear. Choosing a nearby server often means faster speeds. Some apps also show how busy each server is. Tap the server location to select it.
Allowing Vpn Configuration
After choosing a server, the app will ask for permission to add a VPN profile. This step is required for the VPN to work on your iPhone. Tap “Allow” when the prompt appears. You might need to enter your device passcode or use Face ID to confirm. This action sets up the VPN settings securely on your phone.
Toggling Vpn On And Off
Once the VPN is configured, you can turn it on or off inside the app. Usually, there is a large button labeled “Connect” or “On.” Tap it to start the VPN connection. When connected, you will see a “VPN” icon at the top of your iPhone screen. To disconnect, simply tap the button again to toggle the VPN off.
Manual Vpn Setup
Setting up a VPN manually on your iPhone allows you full control over the connection. This method suits users with specific server information or those avoiding third-party apps. The process involves accessing your iPhone’s VPN settings, adding a new VPN profile, entering the server details, and activating the connection. Follow these simple steps to configure your VPN manually and secure your internet traffic.
Accessing Vpn Settings
Open the Settings app on your iPhone. Scroll down and tap General. Next, select VPN & Device Management. Tap on VPN to view existing VPN profiles or add a new one.
Adding Vpn Configuration
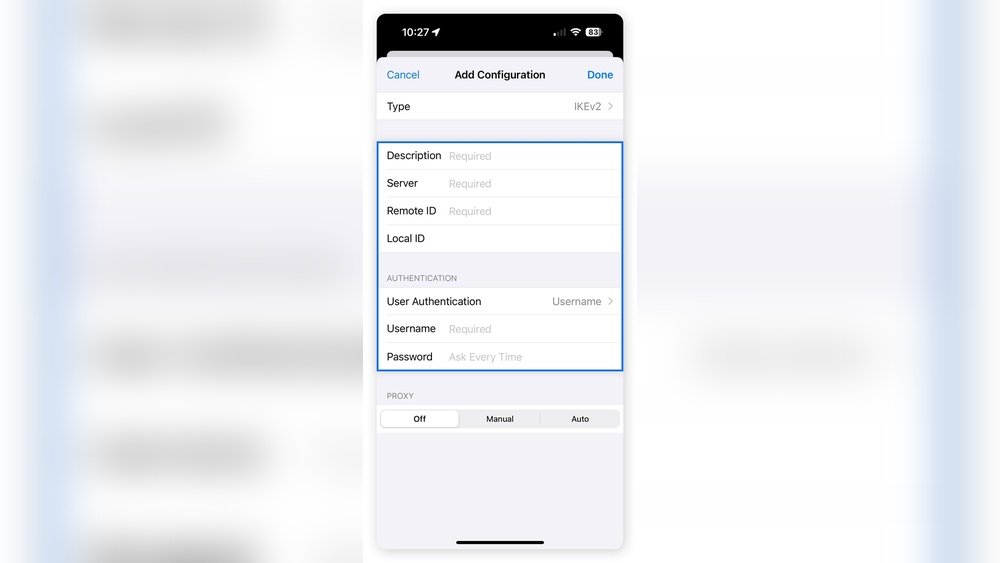
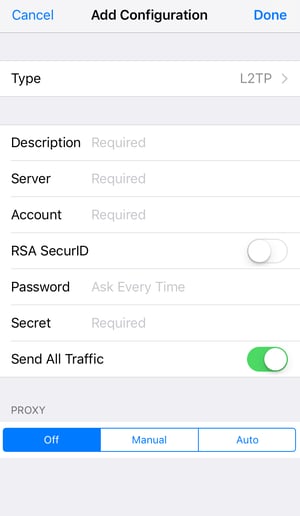
Tap Add VPN Configuration to start creating a new profile. Choose the VPN type, such as IKEv2, IPSec, or L2TP. This depends on the details provided by your VPN service provider.
Entering Server Details
Fill in the required fields, including Description, Server, Remote ID, and your Username. Enter the password if needed. Double-check these details to avoid connection errors.
Activating The Vpn Profile
After saving the configuration, return to the VPN screen. Tap the toggle switch next to your new VPN profile. Wait a few seconds for your iPhone to connect. The VPN icon will appear in the status bar when active.
Verifying Vpn Connection
Verifying your VPN connection on an iPhone is essential to ensure your privacy and data security. After setting up the VPN, you must confirm it is active and working properly. This step helps prevent accidental exposure of your real IP address and keeps your internet traffic encrypted.
Checking the VPN status on your iPhone is simple. It involves recognizing clear signs that indicate the connection is live. These signs appear on your device’s screen and within the settings.
Identifying The Vpn Icon
Look at the top of your iPhone’s screen. You should see a small “VPN” icon near the battery and Wi-Fi symbols. This icon appears only when the VPN is connected. If the icon is missing, your VPN is not active.
The VPN icon confirms that your internet traffic routes through a secure server. Always check this icon before browsing sensitive content or using public Wi-Fi networks.
Checking Connection Status
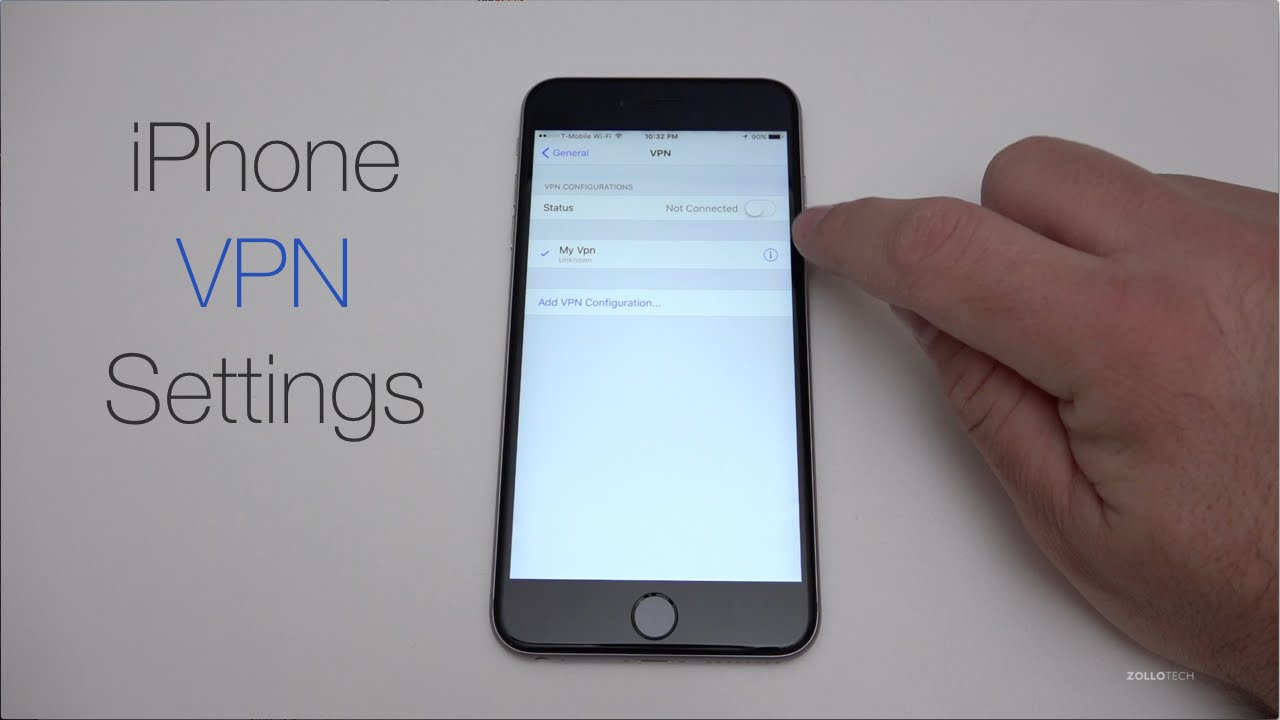
Open the Settings app on your iPhone. Scroll down and tap “General.” Then select “VPN & Device Management.”
Here, you will see the VPN profiles you have added. The active profile will show a green toggle switch. If the toggle is gray, the VPN is off.
You can tap the toggle to connect or disconnect your VPN manually. This screen also shows connection details like the server name and status.
Tips For Vpn Usage
Using a VPN on your iPhone protects your privacy and unlocks more online options. Proper use improves speed and security. These tips help you get the most from your VPN service. Manage settings smartly and avoid common pitfalls.
Switching Servers
Switch to a different server to improve speed or access content from another region. Open your VPN app and choose a new location. Changing servers can fix slow connections. Try servers closer to your location for better performance. Some apps let you save favorite servers for quick access.
Managing Vpn Profiles
VPN profiles store connection settings on your iPhone. Use the Settings app to add, edit, or remove profiles. Keep profiles updated with your provider’s latest details. Delete old or unused profiles to avoid confusion. Use clear names for each profile to recognize them easily.
Troubleshooting Common Issues
If your VPN won’t connect, check your internet first. Restart your iPhone and try again. Make sure your VPN app is updated. Disable Wi-Fi Assist or other network settings that may block VPN traffic. Reinstall the app or delete and re-add the VPN profile if problems continue.
Credit: www.youtube.com
Frequently Asked Questions
How Do I Activate Vpn On My Iphone?
To activate VPN on your iPhone, download and open your VPN app, then log in and tap “Connect. ” Alternatively, go to Settings > General > VPN & Device Management > VPN, add configuration details, and toggle it on. A VPN icon appears in the status bar when connected.
Does Iphone Have Built In Vpn?
No, iPhones do not have a built-in VPN service. Users must install third-party VPN apps or manually configure VPN settings.
How Do I Add A Free Vpn To My Iphone?
Download a free VPN app from the App Store, open it, and log in. Allow the VPN profile when prompted. Tap connect to activate the VPN. Alternatively, add VPN details manually in Settings > General > VPN & Device Management > VPN > Add VPN Configuration, then toggle it on.
Is Vpn On My Iphone Free?
Some VPN apps for iPhone offer free versions with limited features. Most reliable VPNs require paid subscriptions for full access.
Conclusion
Setting up a VPN on your iPhone keeps your data safe and private. Choose a reliable VPN app or enter settings manually. Always check for the VPN icon to confirm connection. With these simple steps, your online activity stays secure everywhere.
Stay protected and enjoy safer browsing anytime you use your iPhone.